
TL;DR: Mind Map view renders your project as a radial tree of ideas, perfect for brainstorming, strategy, and learning. It's one of 7 project views; the underlying data is shared with List, Board, Table, and all other views. Generate mind maps from a prompt with the Workflow Generator.
Overview
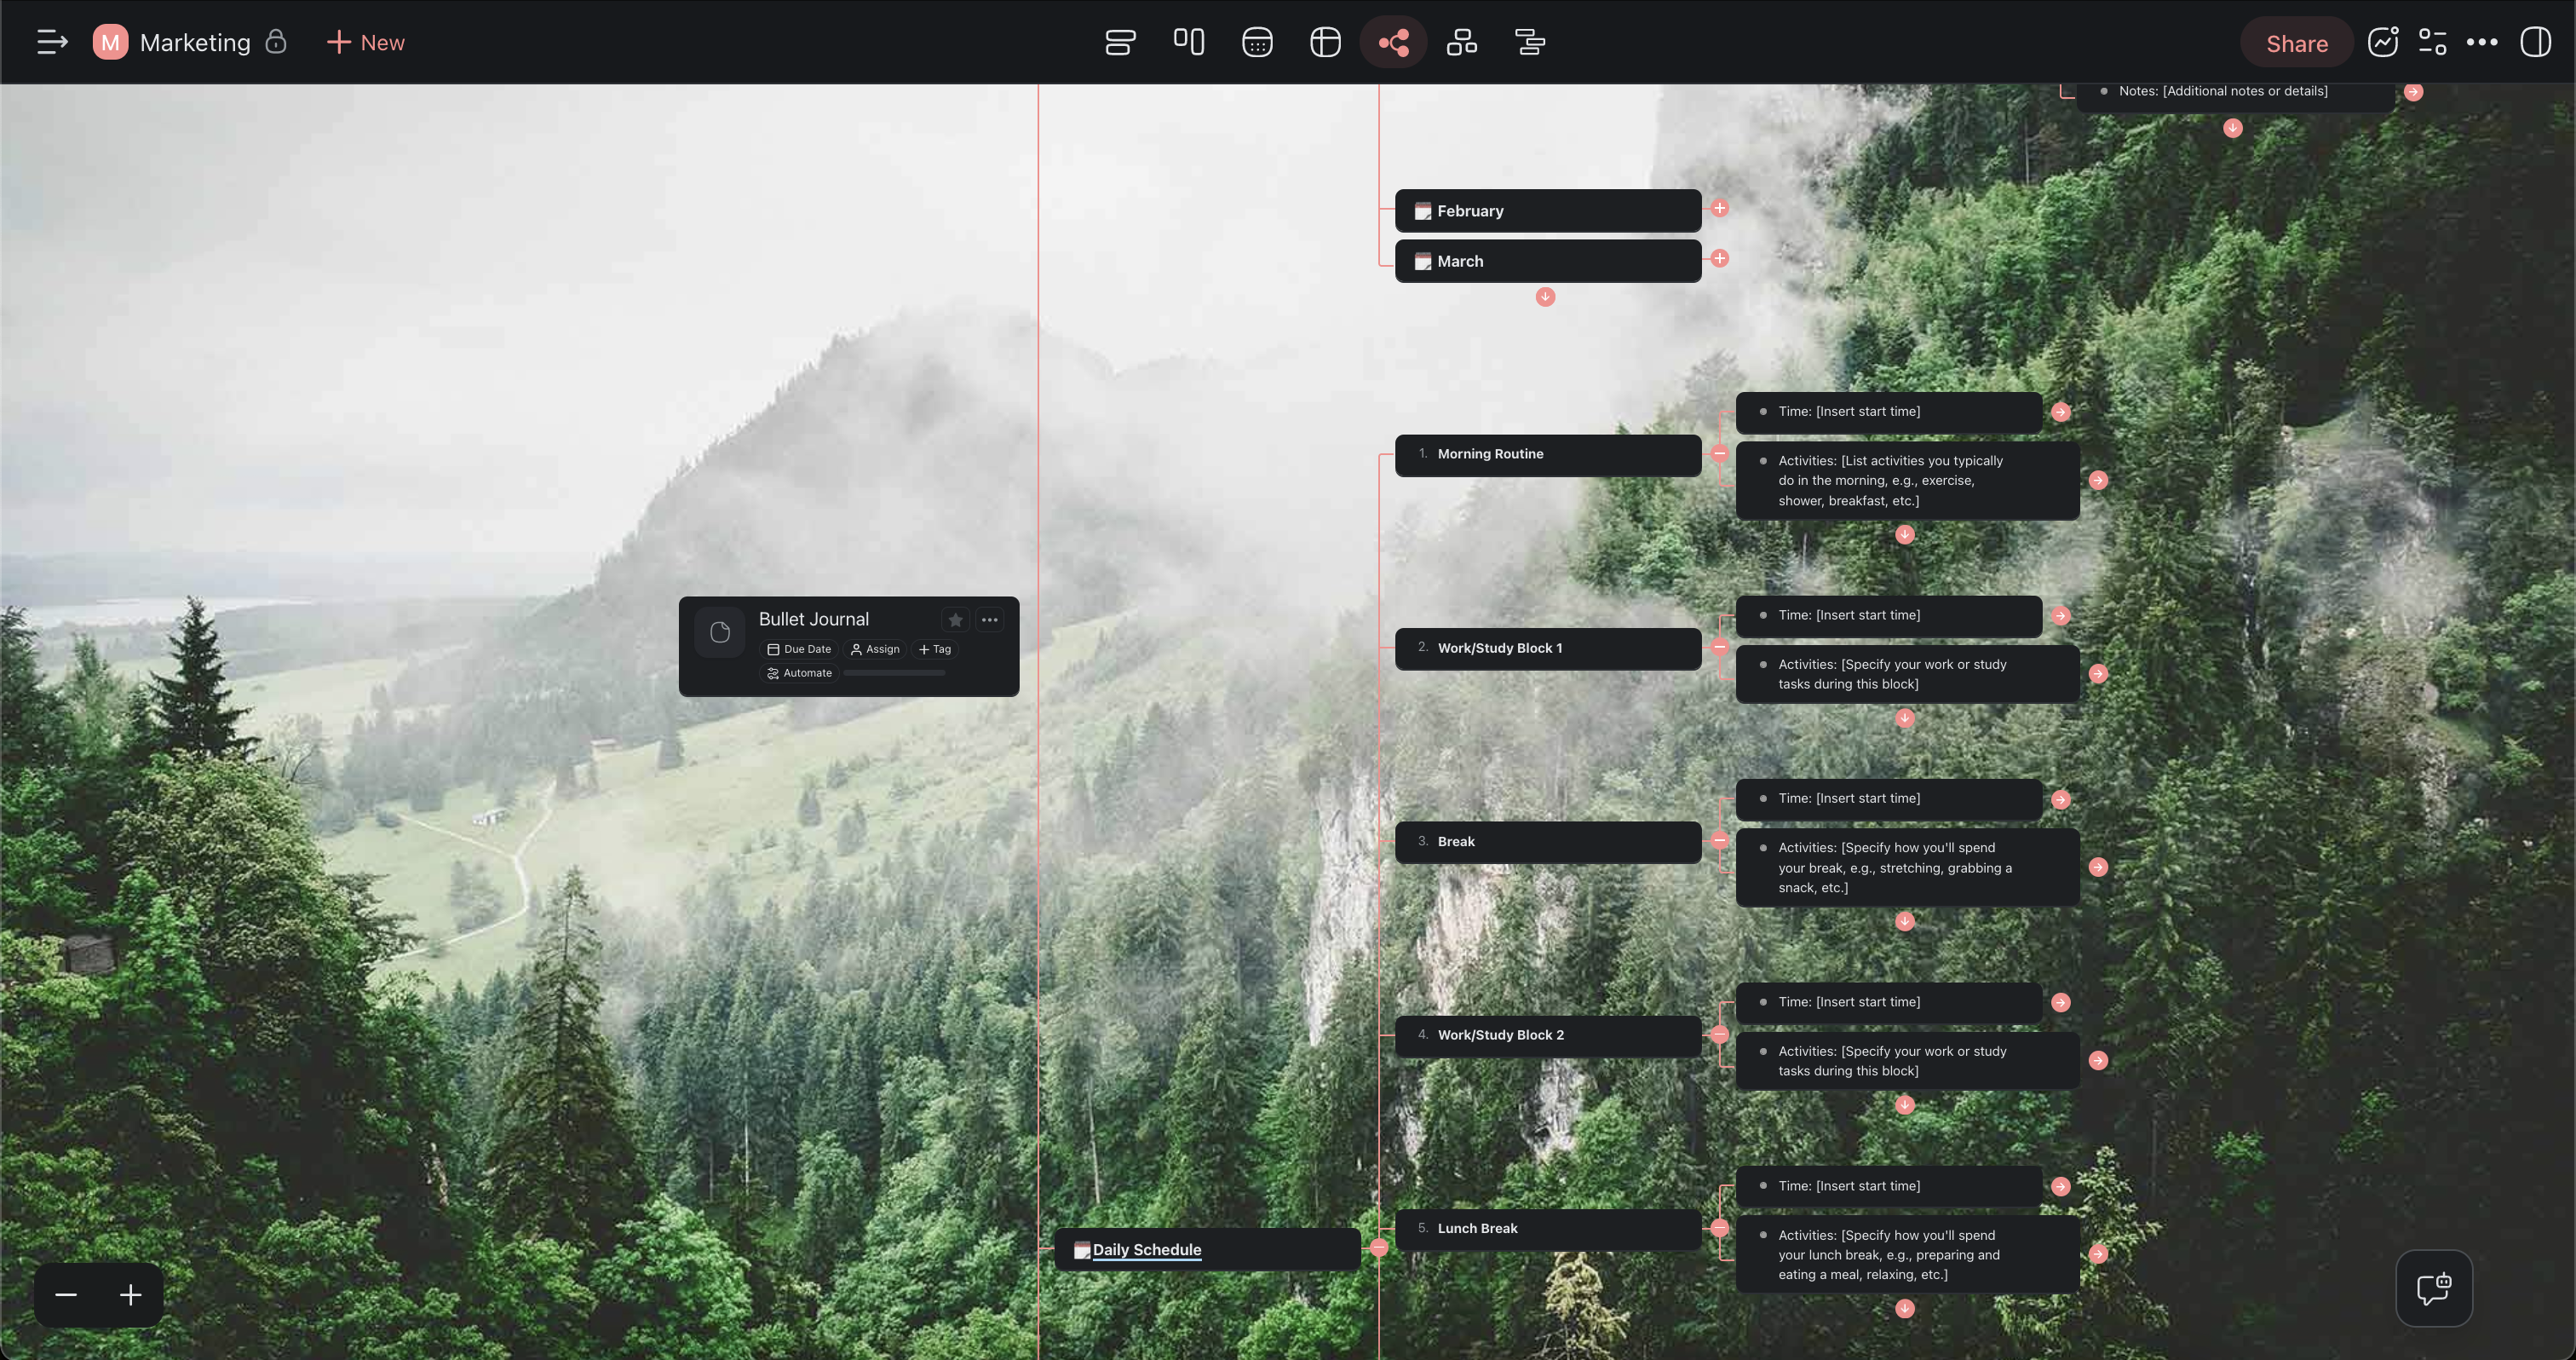
The Mind Map view is a left-to-right horizontal workflow. Start by placing a key element — an idea, problem, or concept — on the left and branch out to the right. You can create mind maps and flowcharts on your own or invite others to collaborate in real-time.
This workflow is perfect for:
- Collaborative brainstorming sessions
- Creating and managing flowcharts
- Dividing projects into smaller parts
- Solving problems, one step at a time
- Breaking down complex topics/ideas
💡 Note: Visit Project Views to learn more about other workflows in Taskade.
Use the Mind Map View
- Click the 5th icon in the top navigation bar to switch to the Mind Map view.
- Click the icon again to set the view as default.

💡 Note: Switching views doesn't affect project contents.
Create New Nodes
- Select a mind map node (task) and press ⌨️ Enter to create a new parent node.
- Press ⌨️ Enter and then Tab to create a child node on the right.
Tips
- Use Zoom In/Out to get a bird's-eye view of large mind maps or zoom in on specific branches.
- Drag nodes using the ⋮⋮ handle to rearrange branches visually. Visit Drag Icon Menu for more options.
- Add due dates and assignees directly to mind map nodes to turn brainstorming sessions into actionable plans.
- Switch to List view at any time to see the same content in outline format — no data is lost when changing views.
- You can also try the Org Chart view for top-down hierarchical layouts.
- Use keyboard shortcuts to create and navigate nodes without leaving the keyboard.